Why Everyone Is Excited About HTML In Canvas
Chapters8
The video introduces HTML in Canvas, an experimental feature in Chrome that enables HTML content to be rendered inside a canvas, available today under an experimental flag for those who control the browser build.
HTML in Canvas unlocks CSS layout, accessibility, and GPU-powered shaders inside a canvas, enabling dynamic UI and 3D integration today via Chrome's experimental flag.
Summary
Joy of Code’s latest deep dive introduces an exciting Chrome experiment called HTML in Canvas. Joy demonstrates how HTML elements can be treated as part of a canvas layout using a new layoutSubtree attribute, with onPaint events and the drawElementImage method to render HTML onto the canvas. He reveals how to synchronize interactions by applying the transform returned from drawElementImage and using a ResizeObserver to handle high-DPI canvases. The talk explores practical benefits: CSS layout with flexbox/grid inside canvases, improved accessibility, shader-powered effects for performance, and potential 3D scene integrations with libraries like three.js. He also walks through shader-based examples—from a cyberpunk glitch to dynamic pixel manipulation via WebGL2 (GLSL) shaders—and showcases community demos and Remotion’s HTML in Canvas usages for programmatic video creation. The video closes with real-world use cases: generating social share images, video rendering, and interactive 3D room demos, all leveraging HTML in Canvas without sacrificing native layout or accessibility. Joy emphasizes that while the feature is experimental and Chrome-only for now, it’s already ship-ready for certain projects and controlled environments.
Key Takeaways
- HTML elements can be drawn inside a canvas using layoutSubtree, turning nested HTML into actual layout content rather than fallback UI.
- The drawElementImage call returns a transform you can apply to the HTML element to synchronize clicks and positioning with the canvas render.
- A ResizeObserver helps size the canvas for devicePixelRatio and prevents blurriness on high-DPI screens.
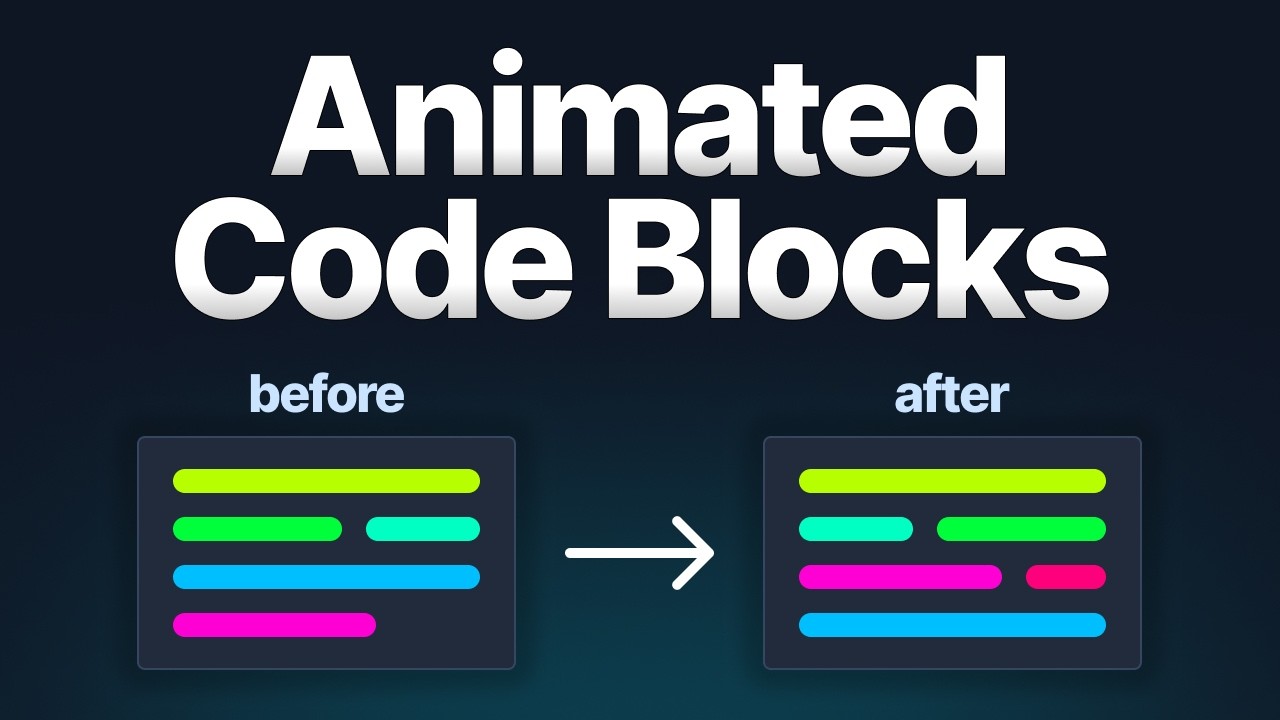
- Shaders offer a path to GPU-accelerated effects, enabling 60fps (or higher) pixel manipulation that would be costly with CPU-based per-pixel work.
- WebGL/WebGL2 (GLSL) shaders can be used to create effects such as cyberpunk glitches, chromatic aberration, and other pixel-level visuals on HTML-in-Canvas content.
- Remotion and other demos show practical uses in 3D scenes and video generation, proving HTML in Canvas can power complex, interactive UIs in creative projects.
- The feature unlocks capabilities like accessible UIs, 3D integrations, and advanced shaders while keeping HTML's layout and accessibility benefits intact.
Who Is This For?
Frontend developers curious about pushing canvas-based UIs, shader enthusiasts exploring GPU-accelerated effects, and teams building game UIs or programmatic video content who want HTML layout and accessibility inside canvas.
Notable Quotes
"HTML in Canvas is going to unlock futuristic web UIs, and if you’re shipping control over the browser, you can start using this feature today."
—Joy introduces the feature and its current experimental status.
"The new attribute called layout subtree means all nested HTML elements in the canvas are going to be part of the layout."
—Explains how HTML inside the canvas becomes real layout rather than fallback.
"The draw element image returns a transform, which you can apply to the button to synchronize their positions and interactions."
—Shows how interactivity is preserved when drawing HTML to canvas.
"Shader is just a tiny program that runs on the GPU for every pixel, so you can do work in parallel and get amazing performance."
—Intro to shaders as a performance solution for per-pixel work.
"You can create any type of shader that you want just by asking AI, since GLSL shaders are the common starting point for fragment shaders."
—Notes on shader creation and accessibility of shader workflows.
Questions This Video Answers
- How does HTML in Canvas enable CSS layout inside a canvas element?
- What is layoutSubtree and how does it affect nested HTML in Canvas?
- Can HTML in Canvas improve accessibility while using shaders and WebGL for effects?
- What are practical use cases for HTML in Canvas in 3D scenes or Remotion videos?
- How do I synchronize DOM interactions with canvas-drawn HTML elements?
HTML in CanvaslayoutSubtreedrawElementImageonPaintResizeObserverWebGL2GLSL shadersRemotion3D with HTML in Canvasaccessibility in canvas
Full Transcript
Hey friends, today I'm going to show you an exciting new experimental feature that landed in Chrome, which is called HTML in Canvas, which is going to unlock futuristic web UIs. And if you're not shipping user-facing code, or you have control over what browser you're shipping, you can start using this feature today. But currently, this feature is only available under an experimental flag in Chrome. So, let's start with a basic canvas. In this example, I have a basic canvas with a button inside of it. And historically, when we nested HTML elements inside of canvas, they would be just treated as fallback if the canvas didn't work.
So, here we're just querying the canvas, the button, and getting the context. So, how can we treat this button as part of the layout? Well, thanks to HTML in Canvas, we can do that using this new attribute called layout subtree. So, now all the nested HTML elements in the canvas are going to be part of the layout. And now we can also listen to an on paint event that fires when the children change. So, we can call context reset to clear the previous canvas state, and we can use this new method context draw element image to draw the element.
[music] So, we're passing the button and the X and Y position. And just like that, now the HTML element is drawn inside of the canvas. But there's a problem. If we try to interact with the button, nothing happens. And that is because this is just an image of the button. The actual button is still at this position in the DOM at the top left. So, we can click on the button, and we're going to see it's going to toggle the background. So, how can we fix this? Well, thankfully, the draw element image returns a transform, which you can apply to the button.
So, we're going to synchronize their And now, if we click on the button, we're going to see that it's going to toggle the background. And to size the canvas for high DPI screens and prevent blurriness, you can use the resize observer. So, we're going to get the device pixel content box size from the entry, and then we can assign it to the canvas width and height. And this is also a great method to deal with any canvas resizing. Initially, this doesn't sound that exciting, but let's think about all of the possibilities this unlocks. So, for example, one of those is layout.
Now, we have access to powerful CSS layout algorithms like flexbox and grid. Imagine this being used as a user interface inside of a game. Next, we have accessibility. A common criticism of canvas in the past is that it wasn't accessible, [music] but now you can make crazy user experiences that are accessible. Another benefit are shaders. So, not only can we control all of the pixels since it's just an image, now we can also write shaders on the GPU to make this all performant [music] and blazingly fast. And the last point is going to be 3D.
This means that we can easily include this inside of a 3D scene using something like 3js. And we're going to look at some of those examples later. In this example, I'm going to show you how we can take this simple button and manipulate its pixels to create a waving flag effect. So, we're going to define some properties like amplitude, speed, frequency. And now we inside of onPaint, we have the same code as before. We're centering the button, but now we're also assigning the input image from context.getImageData, and we're assigning output image using new ImageData to get access to the raw pixels.
Next, we're going to create a render function. So, we're going to take the input and the output of the raw pixels. And now, we're going [music] to loop over each pixel, row and column. And then, we're going to paint the image using request animation frame. To make the button more fancy, I'm going to animate the background using a CSS transition. But now we can actually start our render function to create a cool-looking effect. And we can also change the text to see that it's real time. How beautiful is that, friends? But this approach isn't perfect when it comes to performance.
So, if we imagine this grid as individual pixels, and let's say that our target frame rate is 60 FPS, but it can be even higher, including a high resolution like 4K. So, in this example, the CPU does work one step at a time, which isn't performant when you're doing this 60 frames per second. [music] And this is where shaders come in. Instead of doing work one step at a time, we can use a shader to do work in parallel. And a shader is just a tiny program that runs on the GPU for every pixel. So, we can use a shader to do some work in parallel.
In this video, I'm going to use the GLSL graphics API, even though there are more modern graphics APIs like WebGPU, but they're currently experimental. But if you never heard about shaders, basically the most common ones you're going to encounter is the vertex shader, but we're mostly going to be using fragment shaders or pixel shaders, which dictate the color for every pixel. And this is a type of the cool effects that you can create using shaders. So, let's look at a shader effect. We're going to create a cyberpunk type of glitch effect using this button. We're going to query the canvas and the content inside of it.
And then all we need to do is create a WebGL context by passing WebGL 2 and alpha true for transparency. Then, inside of on paint, we're going to use a WebGL texture image. So, we can say gl.tex element image 2D. And we can pass a bunch of parameters and the content. [music] I'm mostly going to give you just an idea of how this works because there's a lot of boilerplate code when working with shaders. As you can see, this is a standard GLSL vertex shader. And don't worry if this looks intimidating. You can create any type of shader that you want just by asking AI.
So, this is the standard WebGL boilerplate. So, we need to create a program, and then we need to attach a shader, which we need to compile. So, in this case, we have a vertex shader and a fragment shader. And then, we have to link the program. And we're almost done. Now, we just need to create our render loop, which we can kick using request animation frame. And now, we get this cool effect. Let's look at some cool shader effects from the community. So, here is a couple of effects from Matt Rothenberg. So, this is a really cool example that uses a focus ring and a shader.
As you can see, it illuminates these background dotted patterns. And it's really cool, in my opinion. You can even see it has this cool spring effect. [music] And here, we also have this cool magnetic cursor effect. So, the pixels bend toward your cursor using this cool chromatic aberration. This is another mind-blowing effect using shaders. So, let's say, for example, that this is some page that you want to transition. Well, we can do that easily with this cool burning effect. And this is just using shaders. Here's more cool HTML in Canvas examples that people have shared online.
So, here we have HTML in Canvas using 3D. So, you can see you can easily include this inside of something like 3 js. And here is a cool example that shows text selection working on a curved surface. And again, we retain all of that goodness from HTML, such as being able to select element layout, accessibility, and so on. So, even if you use a shader, you can create some cool-looking CRT effect. Or you can use HTML in Canvas for this magnifying glass effect, which looks super realistic. Here's another fun HTML in Canvas example, Duck Hunt to do.
So, you can write your to-do's while playing Duck [music] Hunt. Very nice. So, here we have another HTML in Canvas example in 3D. So, here's a really cool example how HTML in Canvas is being used today by Remotion, a library for making programmatic videos with React. So, because you really don't care about the user-facing code, you can start using it today when making videos. And this is really cool, in my opinion. We can look at even more examples if we go to HTML in Canvas.dev. Such as this really cool 3D room with live web content example.
So, we can enter this, and now we can see this is just HTML. As you can see, we don't need to reinvent layouts and so on. We can just interact with this and change it. That's really cool, in my opinion. All right, so how about this next example? So, this is something that you can use today. If you ever needed to create a social share image, you know what a pain in the ass it is to use something like HTML to canvas. Well, that's no longer the case. Now, you can create any type of image using HTML and draw it to the canvas.
And the same is true for video. In this HTML video recording, so you can create an animation, draw it to the canvas, and download it. How about this fun page curl effect? So, we can create this awesome-looking How cool is that, friends? As you can see, the future of the web is really exciting. And if you like this video, you can support my work by becoming a patron. Thank you for watching, and I'll catch you in the next one. Peace.
More from Joy of Code


Get daily recaps from
Joy of Code
AI-powered summaries delivered to your inbox. Save hours every week while staying fully informed.