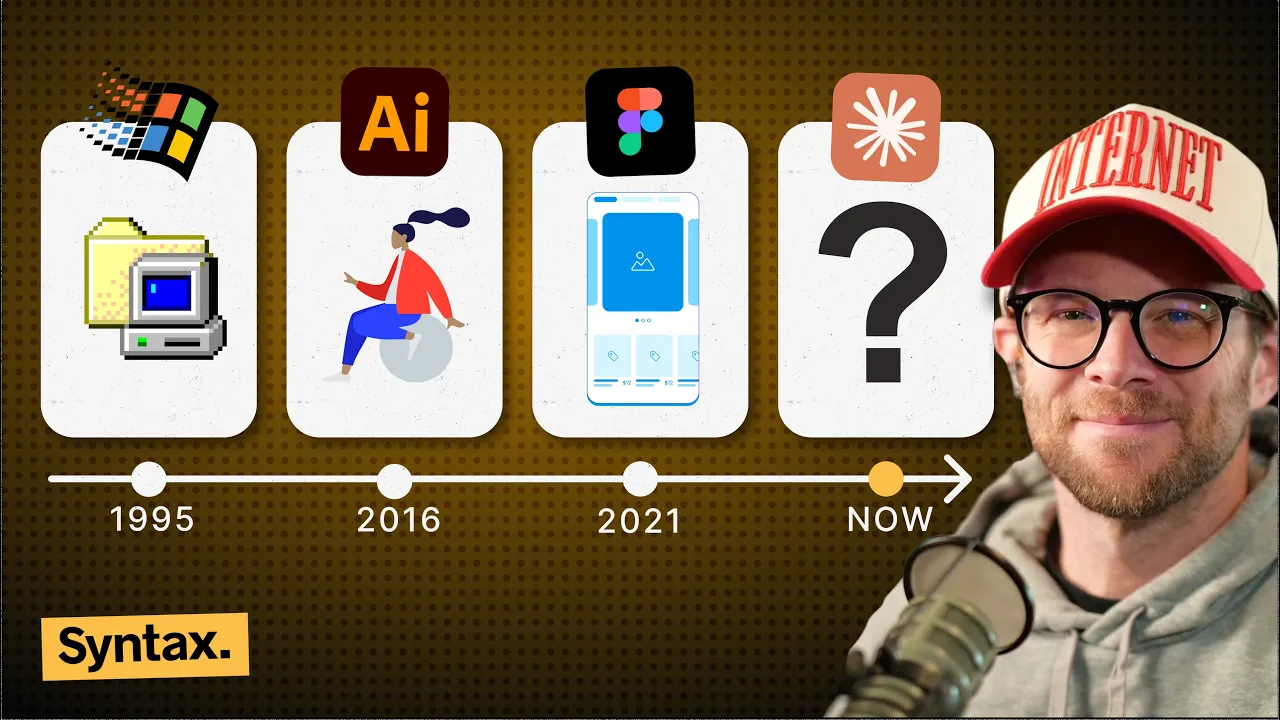
4 Ways to Actually Use Stitch 2.0 in AI Coding
Chapters5
AI agents are good at design but tend to produce similar, generic results; Stitch offers four ways to integrate with Claude code to keep apps unique and aligned with a design-focused workflow.
Stitch 2.0, Claude code workflow, and design.md unlock repeatable UI design with design systems, screenshots-as-style-guides, and agent-focused prompts.
Summary
AI LABS’ video demonstrates four practical methods to integrate Stitch 2.0 with Claude code for consistent, designer-friendly UI across pages. Nicknamed Stitch’s design.md and design system features form the backbone of a reusable styling framework that stays consistent across regenerations. Google’s skills repo provides templates optimized for Stitch, enabling agents to produce a complete design.md from brainstorming sessions. The host shows how to visualize designs on screen, import existing designs from websites, or upload wireframes and reference screenshots to drive a targeted UI aesthetic. For deployment, Stitch can export to React components via the React component skill, then map designs into claude.md workflows and Shad CN components, ensuring interaction-led UI with modular, reusable code. The video also discusses enhancements like the redesign feature (using a site screenshot as a style guide), auto-generation of design systems, and the Stitch loop for autonomous website building. Finally, it mentions practical workflow integrations (MCP, enhanced prompt skill, and shad CN MCP) and nudges viewers toward AI Labs Pro resources and sponsor integrations. The overall message: Stitch 2.0 helps you build original, consistent UIs quickly by turning design into structured, agent-optimized files and components rather than recreating layouts from scratch.
Key Takeaways
- Stitch automatically creates a design.md and a design system when you start a project, guaranteeing cross-page consistency and easier regeneration.
- The design.md file is tailored for agents, enabling precise design intent interpretation and easy transfer of styling between agents.
- You can import a design from another website by providing a link, and Stitch will crawl it to form a design.md that matches typography and styling.
- The redesign feature uses a real website screenshot as a style guide—stitches patterns and component placements into a fresh, original UI rather than copying exact layouts.
- Using the React component skill, Stitch designs are converted into modular React components, with validation scripts to map designs cleanly into code.
- Shad CN UI skills and MCP tooling can transform Stitch output into interactive, production-ready UI using established component libraries.
- The enhanced prompt skill and Stitch loop enable near one-shot app-building workflows, coordinating prompts, design generation, and code implementation with agent-based automation.
Who Is This For?
AI developers and product engineers who want to build consistent, production-ready UIs with Stitch 2.0 and Claude code, leveraging design.md, design systems, and agent-oriented skills for scalable web apps.
Notable Quotes
"Google Stitch is a tool built specifically for design and it can actually plug directly into your Claude code workflow."
—Intro positioning of Stitch as a design-focused tool integrated with Claude code.
"The design.md file is specialized towards agents. It contains more targeted language so that they can grasp the design intention with ease."
—Explains why design.md is agent-focused for better interpretation.
"Once the design system is locked in, whenever it creates any site, it is able to ensure consistency across multiple pages and regenerations."
—Highlights the core benefit of a locked design system.
"The redesign feature uses that screenshot as a style guide. It pulls the patterns, the component placement, the design language from that reference and applies it to your own website."
—Describes the new redesign capability and how it leverages screenshots.
"You can import the design from any website as a design.md file by copying the link and letting Stitch crawl it."
—Shows an easy path to leverage existing site styling.
Questions This Video Answers
- How does Stitch 2.0 create and use a design.md for agent-driven UI?
- Can you import a website's styling into Stitch 2.0 via a URL and generate a design.md?
- What is the Stitch loop and how does it enable autonomous app building with Claude code?
- How do enhanced prompt skills and MCP integration streamline building websites with Stitch and Claude?
Stitch 2.0Claude code workflowdesign.mddesign systemagent skillsStitch loopMCPReact componentsShad CN UIRedesign feature
Full Transcript
Your AI agents have gotten pretty good at designing now. They don't really have the problems now where the sites they made had stuff broken in it. But since the models have all been trained on the same data, the designs are always too similar and generic. Even Claude's models need a special prompt to make sure they don't make this mistake. Google Stitch is a tool built specifically for design and it can actually plug directly into your Claude code workflow. So, in this video, we're going through four ways to use Stitch with Claude code to make sure your apps don't end up looking like every other AI generated site.
The new Stitch update uses a design system for building your UI. And these systems are built upon all the features that form the UI guide for websites, which includes different fields like colors, themes, fonts, and more. These features are actually formed by using the design.md file. This file is also what makes the design transferable from one agent to another. You can transfer this design.md file to any agent you implement this design with and it will get the whole styling theme perfectly matched. The reason this works is that the file is specialized towards agents. It contains more targeted language so that they can grasp the design intention with ease.
It also visualizes all the design systems on screen. So you don't just have to interpret the style using only text. You can get the gist of how the app will look when it is implemented by actually looking at the colors and fonts next to each other. Whenever you build anything with Stitch, the first step Stitch takes is creating a design.md and a design system, even if you don't explicitly tell it to do so in your prompt. Once the design system is locked in, whenever it creates any site, it is able to ensure consistency across multiple pages and regenerations.
This fixes the biggest problem we had while working with Stitch because it was not able to maintain design consistency as well as it can now. But instead of relying on the design system Stitch creates on its own, you can create your own design systems as well. You can set the theme according to your requirements or if you have a design file, you can just upload it and it will automatically incorporate that file as a design system and visualize it for you. The important thing is that you need to make sure whatever design MD you use follows a proper structure.
This structure is known to be optimized for agents, specifically Stitch, and helps them understand the intentions efficiently. Often times we brainstorm our app ideas with Claude or other agents. So if you want to create designs from those brainstorming sessions in stitch, you can take the design style to stitch in the form of a design.md file. You can give claude a structure for the design file that you can get from the official skills repo by Google containing all the skills related to stitch. From the examples, you can get a design file template that is optimized for stitch.
So whichever agent you are using, you can provide the style of the website you want to create along with the template so that it can generate the design.md on top of the template following the style guide properly. Once your agent generates the detailed design file, you can take it to stitch and just paste it into the design. MD section under the creating new design system. The moment you press save design, it creates a visualization for this design. Once it is visualized, you can use it and ask Stitch to implement the UI using the newly created design system as a base.
Stitch then implements the design which reflects the system you created capturing the exact styling from the design MD. So using these design systems, you can iteratively create as many pages as you want and each will follow the same design style. If you have already created projects on stitch and you want to extract the design MD for them, you can do so by using the skills created by Google. in the skills they have created. The design MD skill converts Stitch projects into a design.md according to the template which is optimized for Stitch's workflow. Also, if you are enjoying our content, consider pressing the hype button because it helps us create more content like this and reach out to more people.
[snorts] Stitch's capabilities are impressive, but there are still gaps in it implementing good UX for the niche of websites you are building. It is not always preferred to design from scratch. Existing websites are built on patterns that actually work for the specific niche they are made for. So mimicking their patterns helps you create a website that actually works for your users. Before when building with AI, we used to provide a screenshot and then ask the design tool to copy that design. It would try to replicate the layout, the components, everything as it is. But Stitch's new update has changed that.
With the redesign feature of Stitch, you still give it a screenshot, but now it doesn't copy it. It uses that screenshot as a style guide. It pulls the patterns, the component placement, the design language from that reference and applies it to your own website. So, you're basically building something original on top of an existing pattern. In order to use the redesign feature, you need a screenshot. But a section bysection screenshot is a tedious way of doing so. Instead, use any extension like go full page for a full page screenshot so that you can provide the style reference in one go.
Once you give it a screenshot of the website you want to replicate the design from, it uses that screenshot as a style and components placement reference and creates another UI similar to the one in the screenshot. It uses Nano Banana's image generation capabilities to generate images for different sections matching the UI style. There are other ways you can copy the style from another website as well. You can mimic a whole website style by copying the link and then from the design systems you can import the design from any website as a design.md file. Just provide the link and it will import the design system from the website by crawling it and obtaining the style and typography from it.
But often times stitch does not get the style that you had in your mind. In those cases, you can just upload a rough sketch or a wireframe with the style you actually want. You can also specify the design theme you want your website to use. With the references and theme specification, the UI generated by Stitch will match the wireframe and the style guide exactly, making the website aligned with your requirements. And if there is anything specific that you want to modify, you can do so by using the annotating and editing features of Stitch. You can annotate the part you do not like with the way you want it.
Click apply and it will implement the style you wanted. But before we move forwards, let's have a word by our sponsor, Uptime Robot. You're building with AI APIs, OpenAI, anthropic, whatever. Everything looks fine, 200, okay, but the response is garbage. Your app breaks and you only find out when users start complaining. That's where uptime robot comes in. It catches that before they do. It pings your APIs, checks the actual response, not just the status code, and alerts you instantly on Slack, email, or wherever you work. Monitor AI endpoints, track API credits before you hit limits, and catch errors before they become support tickets.
You even get public status pages showing live uptime stats and incident history. Setting it up takes seconds. Add your endpoint, set the expected response, pick your alerts, and you're live. There's a free tier with 50 monitors to try it out. API monitoring is included at just $7 a month, cheaper than hosting it yourself. Use code AI Labs for 10% off. Valid until year end. Click the link in the pinned comment and start building today. Another way to build is by connecting Stitch's capabilities with any of your existing agent capabilities like clawed code or any other agent that supports agent skills.
Google has developed multiple skills for this purpose and provided skills that give additional capabilities to the agent for working with Stitch. You can install whichever skill you need by following the steps in the repo. The most important one to use in your workflow is the enhanced prompt skill. It transforms the vague prompts you provide into Stitch optimized prompts, making them exactly the way Stitch is optimized to work. It contains references for common keywords because Stitch relies on adjectives to identify mood rather than exact descriptions of the design. Aside from that, there is a skill for building complete websites called the Stitch loop.
It allows the agent to use Chrome DevTools and iteratively build the website from Stitch using an autonomous loop pattern as detailed in the prompt. The idea is to maintain proper prompt tracking and pass prompts from one stage to another. Since these skills manage everything on their own, this is the closest workflow to building an app in one shot. But before you actually use these skills, you need to make sure that Stitch MCP is connected because this is what Stitch uses under the hood to build and fetch designs. There is a video on the channel that walks through the MCP installation process and debugging common issues with the installation, which you can check out.
Now, when you export the design from Stitch either via MCP or code, it usually gives out a huge HTML file where everything is chunked in one file. Since most applications are React-based and component structured, this becomes an overhead for agents to map the HTML to React. So, to simplify this, you can use the React component skill. It converts the stitch design into modular components using proper validation metrics. It uses scripts to validate and fetch designs so that components can be easily mapped. With this workflow, you can create a claude.md that lists the workflow you want to use.
It needs to follow this order. First, you use the enhanced prompt skill to convert your vague prompts into stitch specific prompts, ensuring stitch receives the input correctly. Then, it should build the design using the stitch loop. Once the build is done, it needs to implement the design in the app using React components. When you give the prompt for the landing page you want to build, it will follow the instructions laid out in claw.md. It first loads the enhanced prompt skill which then generates the enhanced prompt using the available skills and tools. Once the prompt is ready, it asks for your permission to proceed to the next step.
After approval, it loads the stitch loop skill and uses the stitch MCPS to create the project. Once the project is created, it sends the prompt generated by the enhanced prompt skill to stitch which first generates the design system and then the actual design. To facilitate images, it uses image generation as part of the design process. Once the design is complete, it moves to the next step using the React component skill to create a component-wise structure and implement the app properly optimized for whichever framework you are using. When you run the dev server, you can see that the application exactly maps the design from Stitch, including hover effects on buttons, making this workflow much easier and faster for building fully functional apps.
Now, the claude.md used here along with all the resources created are available in AIABS Pro. This includes resources from this video as well as all previous videos which you can download and use for your own projects. If you have found value in what we do and want to support the channel, this is the best way to do it. The link is in the description. Building [snorts] from scratch is not always a good idea, and this applies to components as well. The UI generated by bare React components is too static and just focused on the looks.
So, you would need extra overhead to add interactions and animation effects. Instead of building from scratch, you should use UI libraries in your apps because they make creation easier by having interaction features built right into them which you can use to make your UI livelier. To make this even easier, Google provides a shad CN UI skill which gives guidance while converting an application from Stitch to Shad CN components. This skill is essentially a detailed guide on how to properly implement these components across the app. Since shad CNN supports connecting with multiple registries, you can expand its capabilities even further by integrating them and making use of their features as well.
But it is recommended to set up the shad CN MCP prior to building so that the workflow remains smooth. To use it effectively, you should also set up a claude.md file and include instructions so that whenever you use stitch MCP, it automatically uses the shad CN skill to convert the design into components. Since you can add registries, you can specify whichever ones you want to use in your project. For example, when we were building the site, we chose glassmorphism and motion primitives because they contain components that have a premium feel. You can choose whichever ones best suit your project's needs.
If you have previously created a UI in Stitch, you can convert it into an app with Shad CN components. You just need to specify the name of the project you want to implement and ask it to implement it in the app. It will first fetch the project with the specified name. Then load the shad CN UI skill and use shad CN MCP tool calls along with the registries you have specified to implement the entire app. Once the implementation is complete, the app will reflect exactly what you see in Stitch but built with Shad CN UI components.
This makes a big difference because the app generated in one shot becomes much more interactive because of the ease of implementation. That brings us to the end of this video. If you'd like to support the channel and help us keep making videos like this, you can do so by using the super thanks button below. As always, thank you for watching and I'll see you in the next one.
More from AI LABS


Get daily recaps from
AI LABS
AI-powered summaries delivered to your inbox. Save hours every week while staying fully informed.