Framer Shaders are SICK - How I use them
Chapters7
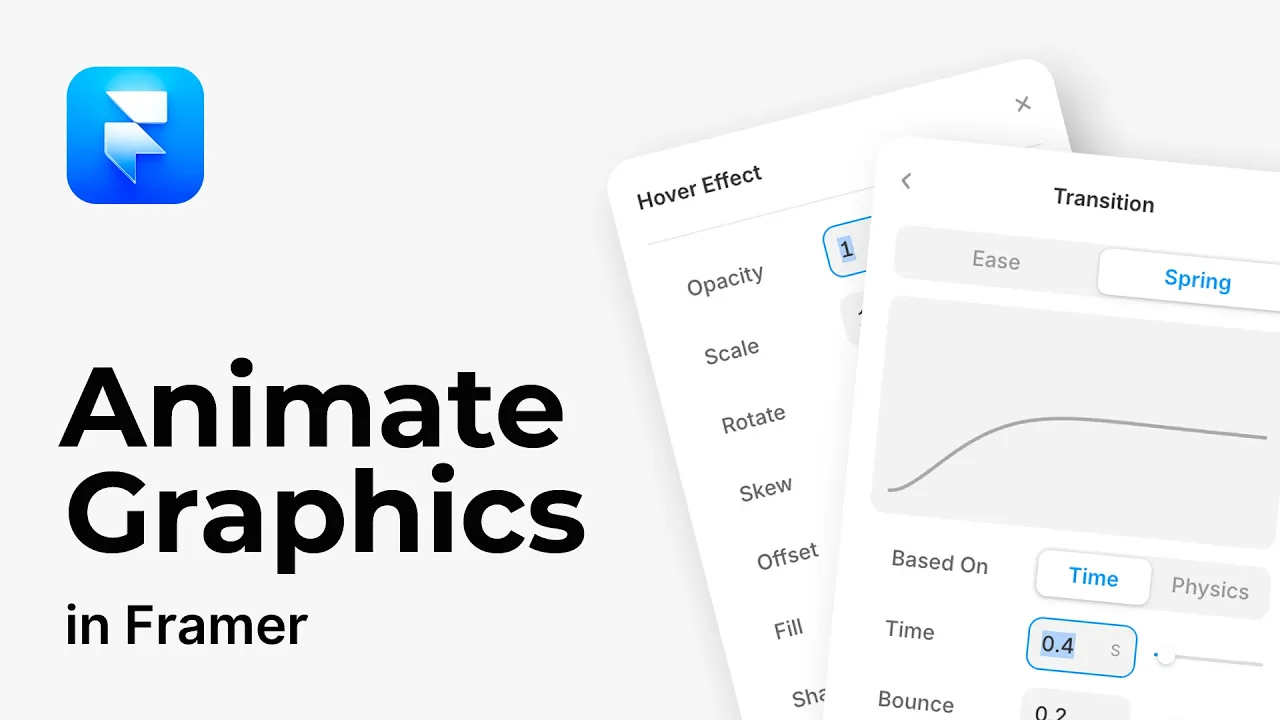
Builds a simple watermark style shader background for the hero area and explains how to place and size the shader within the canvas.
Framer's new shaders unlock bold hero section visuals; DesignCourse shows practical setup with a watermark mesh shader, a pool-table SVG, and a logo shader effect.
Summary
DesignCourse dives into Framer's shader features and demonstrates how they power a dynamic hero area for a pool-training app. The host emphasizes that Framer is the best no-code editor for front-end aesthetics, now extended with shader-based textures. Starting from a blank Framer project, they layer a subtle watermark shader over a black canvas to create texture without distraction. They then drop in an SVG pool-table graphic as a backdrop and wire up a gradient shader to stay contained within the play area. By wrapping elements in frames, masking with radial gradients, and tweaking blend modes like screen, the result becomes a cohesive, glossy UI hero. The tutorial also covers practical tips, like locking a shader to avoid accidental edits during iteration and ensuring absolute positioning respects the parent container. A later segment demonstrates a logo shader on hover, showing multiple shader properties and blend modes to achieve a snazzy interactive logo. Throughout, DesignCourse stresses the importance of using shaders judiciously to enhance—not overwhelm—interfaces. The video ends with a call to explore Framer shaders further for bold, no-code front-end experiments while keeping production performance in mind.
Key Takeaways
- Position a shader as a 100% width/height background to create a repeating texture that remains subtle on any screen size.
- Use the mesh shader as a watermark by setting a light line color and tweaking tilt, speed, and amplitude for subtle animation.
- Wrap shader-backed elements in frames and adjust Z-index to ensure the shader animates correctly without slowing down the editor.
- Layer a radial gradient as a mask to integrate gradient shaders with geometric shapes like a pool table, achieving a seamless blend.
- Experiment with blend modes (e.g., screen, color-dodge) to quickly refine the shader's visual impact without heavy rework.
- Lock shaders (Ctrl/Cmd+L) when not editing to prevent accidental selection and ensure smoother editor workflow.
- Utilize the logo shader on hover to create interactive branding; tweak opacity, blend modes, and animation timing for a polished effect.
Who Is This For?
Essential viewing for designers and no-code enthusiasts who want to elevate hero sections with Framer shaders. It provides concrete steps and practical tips for implementing textures, gradients, and interactive logo effects without writing code.
Notable Quotes
""Framer has released shaders and I'm going to show you exactly how I built this with their new shaders features.""
—Opening remark establishing the shader feature and the demo project.
""Shaders obviously opens up a world of creative possibility just because they are so cool.""
—Emphasizes the creative potential of shader effects.
""The biggest thing... you can change all these values, experiment them, the speed, the amplitude, the tilt.""
—Highlights that shader properties are interactive and adjustable.
""This is exactly what I designed.""
—References the pool-table SVG background as part of the envisioned hero.
""I think we'll stick with that. That is really cool here so far.""
—Expresses satisfaction with the render and effect choices made.
Questions This Video Answers
- How do Framer shaders work and what are mesh and gradient shaders used for?
- What are the best practices for applying a watermark shader in a hero section?
- Can you animate a logo with Framer shaders on hover, and how is it set up?
- How do you mask shader effects to a specific area in Framer?
- What blend modes in Framer produce the most striking shader results without performance penalties?
Full Transcript
Framer has released shaders and I'm going to show you exactly how I built this with their new shaders features. And shaders obviously opens up a world of creative possibility just because they are so cool. They're powered by the graphics processor. And I'm going to show you a this context for a real project that I've been working on for months, my pool training system. And I think this would be an excellent hero section. So I've long maintained that, you know, when it comes to low-code no-code tools, the best editor out there by far is Framer. It's so intuitive.
It's exactly what I would imagine I would build if I was trying to get away from writing HTML and CSS. And that's the problem they solved for a long time. So now we have shaders. Let me show you how to do this. All right, so I am in a brand new Framer project. I'm going to go ahead and select a background with this blank canvas and I'm just going to make it black. And then we're going to add another frame. So a frame inside the canvas is actually a frame, thus Framer. And I'm just going to left click right here and we are going to change this to the actual parent container.
We're going to give it a layout and that will give us the ability to then take that frame we we just made and make it 100% width right there. And then we'll drag this down kind of like, you know, around a hero size kind of just height essentially. And then I'll go ahead and take the color of that. We're going to go slightly lighter than the background. There we go. Now the first shader that I'm going to show you how to integrate is just going to be a real simple background type of texture shader. It's not going to be very, you know, heavy in terms of performance, but it just kind of gives your like a relevant area like for perhaps like the background of a header or hero section in this case kind of just a nice texture, very subtle animation.
So the first thing I'm going to do is go to insert and then we go to shaders. Very simple. We come down to the bottom. I'm going to choose this one under effects and it says mesh. Now I'm going to go ahead and just click that and it throws it off to the side, but you can just throw it over here in the middle. And now if we come over to layers, you'll see it's inside of that frame. Which means now since it's now absolute position, we can still do I'm going to put zero up here for the top, zero on the left and then make it 100% width, tab over, and then 100% height of the parent container.
Okay. So this right here, you know, if I had text on top of it or overlapping it and some other stuff, it would be too much. What we want for this effect is like a watermark effect. Now all a watermark means in terminology as far as graphic design is concerned in UI design is it's a very low contrast element. This is very high contrast because the background's black, the lines are white. We want them to be slightly lighter than black. Each one of these shaders that you use, if you scroll down here, you're going to see that they all have their individual properties.
So each shader is different it's different capabilities, thus it has different properties. And they are all you can tie them in into interactive functionality and change all that stuff. It's really, really cool. So these these you know, you can change all these values, experiment them, the speed, the amplitude, the tilt. We're actually going to use the tilt. I'm going to really slow down that speed because that's just insane. You don't want to disorient people too much. Uh just a little bit now. Um but just play around with this and the biggest thing if it's going to be a watermark, we're going to take the line color and make it just very, barely noticeable.
So if I hit play, this is what it would look like in the browser. It just repeats indefinitely, which is one of the really cool things about shader effects as long as you have 100% width. So this is, you know, not overbearing. It's a watermark, subtle animation, not distracting, but just gives it texture. Now the next thing I'm going to do is going to take it and I'm going to lock it, control L. That way I don't have to I'm not selecting it by accident. Now if you start clicking around different areas and you notice that it stops animating any of these shaders, it's simply because you need to select the actual shader in order for it to animate when you're in the editor mode because otherwise if you have a bunch of shader effects, it's going to really slow down the browser and your computer.
So that's how they set that up. It makes a lot of sense to do it like that. Now the big core element is the pool table graphic. So I'm going to add a frame inside of here. Just left click right around here. And what I want to do is, you know, this is as well position absolute, which is completely fine. It's absolutely um it it's position absolute, but it's based on the parent container itself. So if you put zero, for instance, for the bottom value, it's not going to go to the very bottom of the entire viewport or the webpage, it's going to go to the bottom of its parent container.
All right. So for this I actually don't want it to be in the I don't want it to be, you know, down that's bound to the to the bottom. I'm going to take the parent frame right here, add a layout. Now this mesh effect right here is pushing it down. We need to change that to absolute. All right, and then change make sure these values are correct again. So if I try to bring this to the top, we can't see it for some reason in the layer stack even though we're changing it above this element.
So when that happens, you come over to style and you want to choose Z index and then we're going to make it one or a value that is higher than the Z index there. I type when it comes to absolutely position elements, you can sort them through the Z index property. So for this background fill color, I'm just going to come over here. We're going to change this to an image. I'm going to select the SVG graphic of the pool table and there it is. All right, this is exactly what I designed. So if we hit play, we can kind of see what this looks like in the context the app so far.
We have some subtle background. Cool already, very cool. Let's go back. And now what I want to do is for this element, I want to put in a shader that only just kind of stays within the the uh the the actual playable area area where the balls are. So I'm going to come over here. I'm going to go into insert. We're going to go back to shaders. Now these type of shaders, these gradient shaders are going to be perfect for what I want. I'm just going to use the liquid gradient shader effect and left click, drag that sucker right in there.
Now we're going to put this uh yeah, inside of the frame right here. So we can just double click pool container. Then I want to go ahead and add a layout here on the pool container layer and make sure that it's just centered and it is. And then we can go ahead and take this and make this fill. So I'm going to make this relative and it's going to be 100% but I'm going to take that value down with my keyboard arrow keys. We're going to get it spaced exactly where we want it to be within these uh the rail lines.
Same thing with up here. I'll set it at 100% first and then just reduce. And right there is good. Now this in and of itself looks stupid. Like if I hit play, it doesn't look like it's really seamless, right? It doesn't It looks dumb in my opinion. So we're going to improve it. So to do that, I'm going to go ahead and right click and we're going to frame it. Yes, add frame. So that wraps a frame inside of it. It the frame becomes the parent container of this element. And what that allows us to do is we're going to try to more seamlessly integrate this with a absolute position gradient, a radial gradient.
So we're going to come over here and I'm just going to hit F for a frame. And this frame inside is going to be 100% width and height. So I'll just go ahead and put 100%. And then over fill, I'm going to change this to a radial gradient and then in the center, we're just going to go ahead and take that opacity all the way down. There we go. Now the this color right here, we want to match that to the actual table the color of the pool table. The rail or the the flat color specifically.
Okay, so now let's go ahead and hit play and we'll look at the animation. This is actually pretty good, but we have some issues up here. Let's fix that. Now we can also come over here for even more ways to transform this particular effect. Obviously we have a bunch of options down here, but another external way is to go ahead to styles and then choose blending and you can change the blend mode and experiment with how each one of these changes the look and the behavior. I really like screen. That looks awesome. Plus lighter, color dodge.
You can play with all the colors and you're going to get very interesting, you know, results. I think color is really cool. So I think we'll stick with that. That is really cool here so far. Another way to approach that by the way is just to go here and choose mask and you can actually change this to a radial mask and it will do a good job if we reverse this right here. There we go. So now we can kind of control it a little bit more. Now what if we wanted like an interactive shader effect for like a logo that sits in the center when a person hovers over it.
I'm going to go to insert and I'm going to choose right here under shaders. We'll choose this option right here. It's logo. All right. And so the way this works, it's really cool. You can change the image and the image becomes the shader effect with all these properties that you can control. So if I go over here, I have the symbol right here. Ah, very, very snazzy, is it not? Okay, so now I'm going to drag this over. Now we have to decide where we kind of want this thing. We want it to be absolute.
There we go. Now it's on top. We're going to add the blending here. There we go. So we can just experiment with different blend modes. And this one has a lot. You can see that it has I multiple, you know, probably about what, 15 different things that you can adjust about it. So just have fun with it and experiment. Then with the element selected, we can go ahead over here to effects. Hover, we will hide the initial value with opacity zero. All right, and there we go. [laughter] All right, I think we can make this a little bit more interesting with like an intro animation.
There we go. All right, I like that timing a little bit better. Now, let's add like some interesting type. Uh look at that. Okay, let's take it further. Uh check this out. Uh Okay, that's a little bit too much. All right, and here we go. This could actually be this really cool start of a brand for my upcoming training software that I showed at the beginning. Uh this is really freaking slick. I've always said that the editor from Framer is the best no-code editor when it comes to building front ends. Uh it's just so intuitive and easy to understand.
And now with shaders, you have a lot of really cool potential effects. Of course, you want to use them wisely. I'm not really sure I like this hover thing. I'll probably scrap that. I wanted to show different things that you can use it for. But yeah, ultimately, definitely check it out, and I will see you all very soon. Goodbye.
More from DesignCourse


Get daily recaps from
DesignCourse
AI-powered summaries delivered to your inbox. Save hours every week while staying fully informed.