10 Framer Tips Every Beginner Needs to Know
Chapters9
Framer can feel daunting at first, but the video promises beginner tips to build your first Framer website with no code, showcasing the platform’s capabilities and a sponsored Frame integration.
Will Paterson walks beginners through Framer basics, showing how to build, wireframe, and animate a responsive site without code.
Summary
In this Will Paterson guide, Framer is presented as a beginner-friendly tool capable of building fully responsive websites with no coding required. He walks viewers through creating a website from scratch using Frame, design pages, and sections, then demonstrates stacking behavior to keep content responsive. The tutorial covers practical features like exporting frames as web pages, adding sections such as navigation and hero blocks, and using wireframes for quick layout ideas. Will also highlights animation options, including on-appear and on-scroll effects, to bring pages to life. A standout segment shows Framer’s AI-assisted wireframe tool generating a portfolio layout at different breakpoints, illustrating how to bootstrap a project fast. He points to the Frame marketplace for templates, components, and tutorials, plus the AI workshop for custom components and animated assets. Throughout, Will emphasizes collaboration, free tier capabilities, and real-world tips like renaming layers with AI to stay organized. If you’re new to Framer, this video is a practical, hands-on kickoff that blends design, prototyping, and small-scale animation into a single workflow.
Key Takeaways
- Framer lets you build responsive websites entirely in-frame without writing code, using frames as artboards and sections to assemble pages.
- Use the insert > sections feature to drop in ready-made navigations, hero blocks, and FAQs, then customize at different desktop breakpoints while staying responsive.
- Stacks act as automatic alignment containers; by changing the mother frame's layout, inner content reflows automatically to maintain balance across sizes.
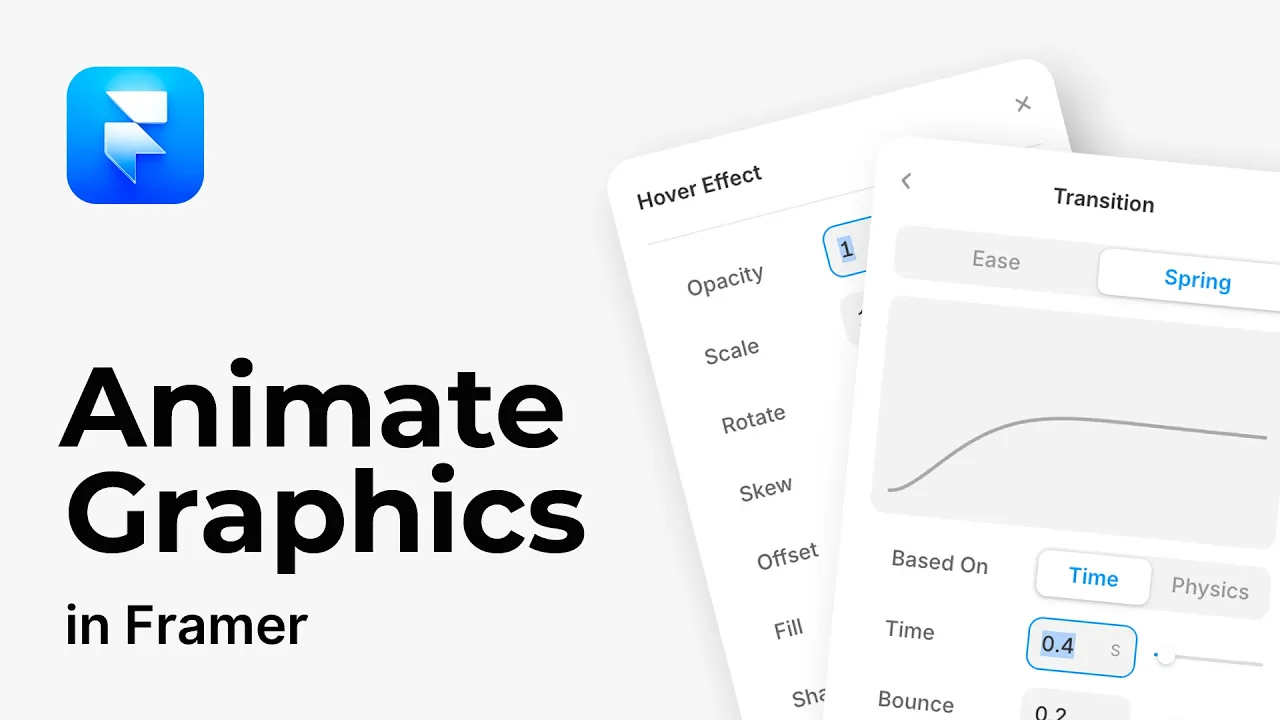
- Animate content with the appear and scroll effects by adjusting timing, easing, and delays to create polished entries as users scroll or load the page.
- Framer’s wireframe tool can generate portfolio page layouts with AI, producing breakpoint-specific wireframes you can customize quickly.
- The marketplace is a practical hub for templates, components, and tutorials, and the AI workshop lets you generate custom components or animations to accelerate work.
Who Is This For?
Essential viewing for absolute beginners and designers new to Framer who want to quickly bootstrap websites and portfolios without code, while leveraging AI-assisted features and community templates.
Notable Quotes
"Framer can look complicated if you're just getting started, but today I'm going to show you some beginner tips to get you started to build your first website in Framer."
—Opening reassurance that the video targets beginners and promises actionable tips.
"The great thing about Frame is you can invite other people to come in and design whatever you want to design inside it too. It's really powerful and it's completely free."
—Emphasizes collaboration and free access.
"Stacks is where a lot of people get confused within frame. It's essentially an automatic alignment tool."
—Defines stacks as a key concept early on.
"If I want it in the middle, I want to select this mother frame and tell it in the layout options over here that I don't want to distribute everything from start."
—Gives a concrete tip on using layout options for centering content.
"This is where AI automatically creates a wireframe of what my website could be, in different breakpoints."
—Highlights AI wireframe feature and breakpoint support.
Questions This Video Answers
- How do I create a responsive website in Framer without coding?
- What are Framer stacks and how do they affect layout?
- Can Framer AI generate wireframes for my portfolio with multiple breakpoints?
- Where can I find templates and components for Framer projects?
- How do on-appear and on-scroll animations work in Framer?
FramerFrameFramer marketplaceFramer AI workshopDesign pagesSectionsStacksWireframeOn-appear animationOn-scroll animation
Full Transcript
Framer can look complicated if you're just getting started, but today I'm going to show you some beginner tips to get you started to build your first website in Framer. It's beginner friendly and you will learn a lot. So, thank you Frame for sponsoring this video and making it happen. So, here's our website that me and Sam, who's on our team, created. This was all created without any code whatsoever. All done within Frame and it is beautifully responsive, looks good, different cursors. So, you can do a lot in Framer. But Frame isn't just for designing websites.
You can actually use design pages in Frame to design anything from Instagram carousels. You could design logos, layouts, posters, anything. You just go to this point here in the top left. You'll have your pages, layers, and assets. Just go to pages and add a new design page and call it whatever you want. Then you simply draw out a frame. And this is your artboard. Within this, you can change everything that you like. It works just like a normal design system. Add some text. design system. Make this bigger. Change the font. Change the color. Change the line height just a little bit.
And you can place this anywhere. And you can also export it as well or just preview it like you normally would. And the great thing about Frame is you can invite other people to come in and design whatever you want to design inside it too. It's really powerful and it's completely free. You can have as many design pages as you like as well. These are basically just like files if you want them to be. And then you can promote them to web pages as well by right clicking on the frame and go to create web page and it'll add it to the web pages part of framer here.
But let's say you're in framer and you want to create a website but you don't know where to start and every time you try and do something it breaks. Well, up here on the left, go to insert and then we've got this place here called sections. This is where you can add predetermined sections to a website. So for instance, let's go to navigation as the first thing. We've got a choice of light and dark and these sort of navigations here. Let me just drag this in. That looks good. Let me just click on this desktop breakpoint and we'll just make this black as well.
And then what I can do is I can add in more sections. Let's say I want a hero section to this. Well, let's check out these hero sections. We've got meetat framer. Okay, add that in. That looks good. Let's add a logo section in. That looks even better. add a little statement down here maybe or in between there we can actually add another section. You see every time I go in here I can add little sections like a wireframe like an FAQ thing and it's adding the website for me and it's actually keeping it responsive as well which is really nice because that means that we don't have to worry about it and we can just go in here and change them to anything you want and that way you don't have to worry about what are known as stacks.
Now stacks is where a lot of people get confused within frame. It's essentially an automatic alignment tool. Let me try and explain frames to you. So, inside this frame, I can add text of whatever I want and I can place this text wherever I want inside of this frame. However, if we were to preview this as like a website, it's not going to do anything really. It's not going to be responsive when it moves from a large window to a small one. If we look at my website here, if we move from a large window to a small one, it automatically becomes responsive and changes depending on the size of the viewport or the size of the device.
This is where stacks come in. If I select this frame here, which is the mother frame, we'll call it mother frame, and I press layout, you'll notice that whatever is inside of this frame in the layers panel moves all the way up. And that's because the mother frame is dictating what's happening on the inside of it. We can't just move this now wherever we want. It will just stay there. And if I preview this, it will stay wherever it is. Now, when I click on an object inside of this frame, we have some sizing options.
You'll notice here it says fit and fit. Well, if I go and click fit on the width and press fill, it's going to fill out that whole text box, but the text is all the way to the left. And that's because it's justified left. If I go to the alignment on text, it will move it. What if I want this whatever in the middle of my frame? Because right now, no matter what I do with my big frame, it's just sticking where it is. It's just staying wherever it is. If I want it in the middle, I want to select this mother frame and tell it in the layout options over here that I don't want to distribute everything from start.
I want to get it into the center of it. Now, when we press center, if the alignment is in the middle, it will align this box in the center. And the great thing about this is that we can just keep going like this, writing all sorts of stuff. And you'll notice that it's just filling this frame. And if we preview this frame and do this, you'll notice the text is all going crazy and it's aligning automatically because it's responsive. I can press command D to duplicate. And you'll notice that it will keep duplicating it. And each of these is a text box and it's reacting to the frame that it's in.
Now, if I add another frame inside this frame, you'll notice that frame will work in the same way as the text. Everything we put into this will work in the same way if I keep duplicating it. If I click the mother frame and press direction to this way, you'll notice that these squares will go horizontally or vertically. If I want my mother frames height to change depending on what's inside it, I can just click on it, go to height, say fit content, and then now no matter how many of these squares I have, it will keep the height.
So that is a really, really basic rundown on stacks, but they're not as hard as you think. But you're probably asking, well, how do you animate like this? How do you get everything to come in when you scroll down as well? And how do you do all this? Well, it's actually really easy in Frame to do. Let's go to our website that we created with all those sections. And let me select these two textes here. I'm going to go to effects and we're going to press appear. And this will essentially tell us what we're doing.
This will unappear fade in. So when it appears, it will fade in. If I just press this, you'll notice it's too quick. But you can see it kind of fade. It's far too fast. We're going to go slide in bottom and we'll go to effect. And we can really change this if we can have a look at how fast it is. Let's say we want it to be timing 1 second. We can change the easing if we want to as well with this little graph. Now, if I press command P, you'll notice that it just pops in like so.
We can do the same for down here as well. This whole section if we want to. So, on appear, slide in from the right. Let's change some of this timing and the physics. Maybe a couple of seconds delay. Maybe or maybe not. Now, if we want to animate something on scroll, so when we're here and we scroll down, we want this to come in as we're scrolling. Well, what we can use is a different effect. We go to effects, we want it to appear, but we want it to be in layer view when it becomes in view of the person on the website.
Let's change some of this again. So, the time is one. And then let's preview. Scroll down. And you'll notice that it works there. That's just appearing in. We can make that better, though. slide in the bottom. Let's do that. Gives it a nice little animation there. Let's create a new page. Let's say I want this to be a portfolio page, but I don't know how to wireframe it. And I don't know what kind of sections do I want. Well, if we go to insert and go to wireframe, we can say we want a portfolio page.
Let's say portfolio. There we go. And watch AI automatically create a wireframe for you in Frame. It's really insanely Look, it's incredible that it's doing it now. It's using my name. It's using who I am and everything and it's creating in different break points a wireframe of what my website could be. So, there's no guessing. It's doing a lot of the work for me. Now, if I click on this, it's all responsive as well, which is really nice for my personal portfolio page, making it really easy to just go in and edit if I need to.
Let's add a bio, let's say, with links. And if I add this in, it will update this page for me. Let's see what it does. Nice. There's a little bio page now that it's created for me in different breakpoint sizes as well. Now, it is just a wireframe, so you're supposed to go in afterwards and change all the elements like the color or whatever. So, we could go into the background, start changing the color of everything. We could do it to our like burnt orange if we want to or nice blue. This makes life so much easier when you're just wanting to get a quick wireframe to see how it would work.
Now, the problem we have when we're doing this is we have a lot of stacks like so, and inside of them, we don't know the names. it just says stack everywhere. So instead of that, what we can do in frame is hold option or alt and R and it will go through and you just seen it there. It will rename the layers using AI to exactly what it is. So you can easily identify it. So that's just saved you time already. Pretty cool. Now, if you're a beginner, a place where you'll want to check out is the marketplace.
Up here on the top left, you've got a marketplace button where you can download templates, plugins, components, even have tutorials in here, too. Look, here's a video that we can check out. So, we can go to templates and look at 3D design and art and whatnot. See in here if we like it or we can go to components. And this is the crazy thing. We can actually buy components or use them like this typewriter effect. We can we like it here. We can press copy component, go back to our file, and just anywhere around here, we can just paste it in like so.
That's a free component that you can just quickly copy and paste into your website like that. There's actually some pretty crazy components like this one that I'm going to show you. It doesn't look like much is happening now, but if I press play, this component allows me to create this crazy effect with a logo all inside Framer. Look, it's responding to my mouse. But if you want to create your own component, you can do that in the workshop. Just go to this button down here and go to workshop. And you can use AI to create anything you want.
Let's do an animated clock and see how it fares. You'll see it generating all the codes in the background. And this is a perfect use case for AI as well. I'm so stoked that they're doing this. Look, here's an animated clock that you can use inside of your composition that was all generated by AI. You can even create custom tick marks. Here you go. And it will change it and edit it for you as you're going. If you guys enjoyed this video and you want more Framer content, then press that subscribe button down below. And also feel free to send in your frame of portfolio on our community post where I'm going to go and review and react to your portfolios if you created them in frame.
Thanks for watching.
More from Will Paterson


Get daily recaps from
Will Paterson
AI-powered summaries delivered to your inbox. Save hours every week while staying fully informed.