Build Full AI Ads with Flows in ElevenLabs (Full Tutorial)
Chapters9
Introduces Flows as a nonlinear, all-in-one canvas in 11 Labs for building ad content without switching between tools, highlighting how it supports a connected, end-to-end creation process.
ElevenLabs shows how to build a full AI ad in one flow using a new node-based tool called Flows, combining image, video, and audio generations in a repeatable, editable pipeline.
Summary
In this ElevenLabs walkthrough, the creator unveils Flows, a brand-new node-based canvas that sits inside ElevenLabs Studio. Unlike traditional linear timelines, Flows lets you connect image, video, and audio generations into a single, repeatable pipeline. You start by adding an image generation node (e.g., Nano Banana 2 at 2K) and then drag into a video generation node that uses the image as a start frame. The video can be generated at 1080p, with prompts like “baseball player throws ball.” You can stack multiple prompt-model pairs (Cream 4.5, Cling 2.6, V3.1) to compare results side-by-side, then swap or route outputs without redoing references. Edits are applied by swapping or reconnecting nodes, and a single tweak to the initial prompt can regenerate the entire flow. Flows also supports edits to mid-flight references—uploading a new reference image, creating an edit image node, and using the updated input to produce the revised frame. The video ends up with a composed output that can include synchronized audio or sound effects, via a composition node and optional text-to-speech or sound effects. Once built, flows can be saved, duplicated, and shared as templates to speed up future projects. The session culminates with practical tips: cycle through generation history, choose a favorite render, and then mix video with audio to produce a finished asset. Overall, Flows represents a nonlinear, flexible approach to AI-driven creation that can dramatically reduce back-and-forth work and enable rapid experimentation.
Key Takeaways
- Flows is a node-based visual canvas inside ElevenLabs Studio that lets you connect image, video, and audio generations in one repeatable pipeline.
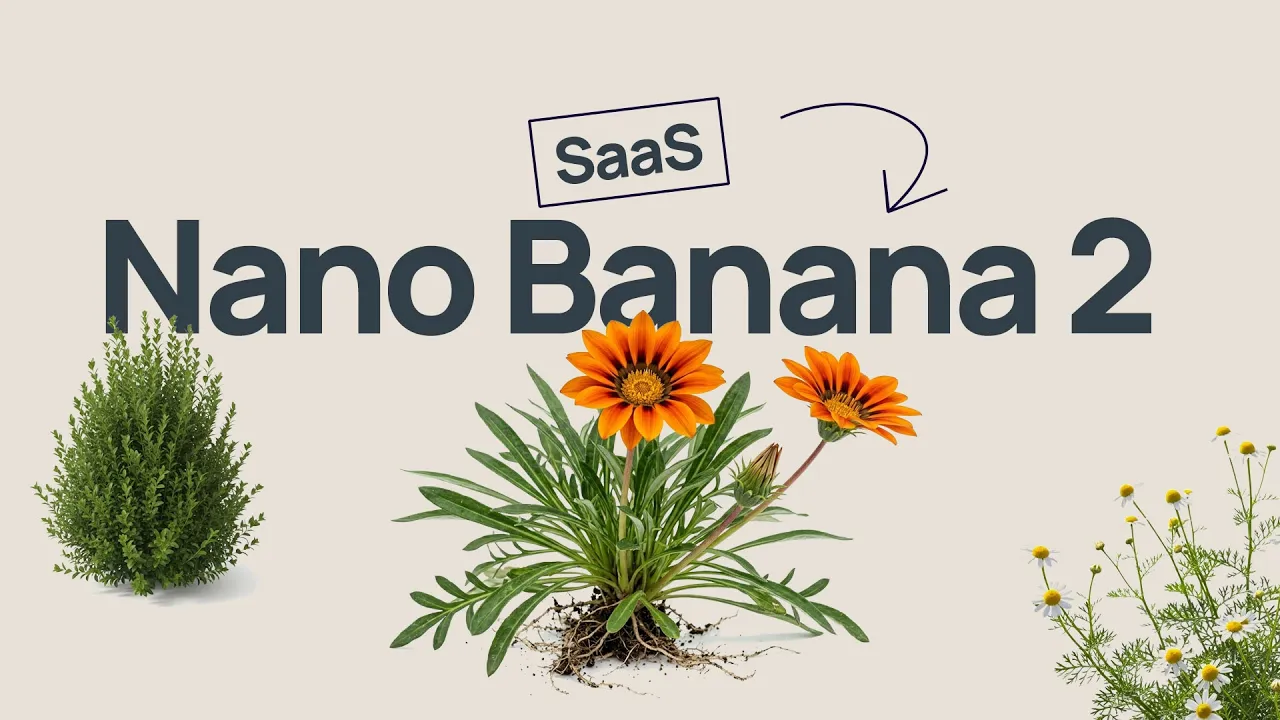
- You can generate an image with Nano Banana 2 at 2K, then instantly drive a video generation using that image as the start frame at 1080p.
- You can compare multiple models (e.g., Cream 4.5, Cling 2.6, V3.1) in parallel by creating separate branches from a single prompt, and then pick your favorite output.
- Edits are applied by re-wiring the flow: swap inputs, add new references, or adjust prompts, which can regenerate the entire canvas without rebuilding from scratch.
- The workflow supports editing mid-flow with new reference images (via edit image nodes) and then regenerating only the affected parts, saving hours of tinkering.
- A composition node lets you blend video with audio or text-to-speech and sound effects, producing a finished ad scene directly in the canvas.
- Flows can be saved, duplicated, and shared as templates to accelerate teamwork and re-use across projects.
Who Is This For?
Essential viewing for creative technologists, ad producers, and video editors who want to accelerate AI-driven asset creation by building repeatable, editable pipelines inside ElevenLabs Flows.
Notable Quotes
""Flows is a nodebased visual canvas where you have access to the best AI image, AI video and AI audio models in the world, allowing you to map out your entire creative pipeline from start to finish to create any AI asset you need.""
—High-level definition of what Flows is and its purpose.
""No more going back and forth between generations. If there are any edits you would like to make, you simply swap out a node or connect a new one, saving you hours of time in the creative process.""
—Emphasizes the time-saving, non-linear advantage of Flows.
""Take a look at this... we regeneration the entire flow by making a small tweak to the original prompt.""
—Demonstrates rapid re-generation from prompt tweaks.
""You can share your flows. So you can create templates and share them with your colleagues to create faster than ever.""
—Mentions collaboration and templating benefits.
Questions This Video Answers
- How does ElevenLabs Flows differ from a traditional timeline for AI assets?
- Can I compare multiple AI models (e.g., Cream 4.5 vs Cling 2.6) within a single flow?
- What are the steps to create a video from an image in Flows and set the start frame?
- How do you edit an existing flow when you want to swap in a new reference image?
- What nodes and models are supported for audio in Flows (text-to-speech, sound effects)?
ElevenLabs FlowsAI image generationAI video generationCream 4.5Cling 2.6V3.1Nano Banana 2edit image nodecomposition nodetext to speech
Full Transcript
So, I just built this entire ad all inside of one single canvas. No switching between tabs, no downloading and reuploading files for references. Everything connected, everything all in one place. And I'm about to show you exactly how I did it using a brand new tool inside of 11 Labs called Flows. If you've used 11 Labs Studio before, you know it's a timeline. You lay things out left to right, you trim, you layer, you edit. It's a very linear creation process. But when creating with AI, the creation process is different. You often start with an idea and go in a bunch of different directions.
therefore making the process nonlinear which required a new way to create. Flows is a nodebased visual canvas where you have access to the best AI image, AI video and AI audio models in the world, allowing you to map out your entire creative pipeline from start to finish to create any AI asset you [music] need. So, no more going back and forth between generations. If there are any edits you would like to make, you simply swap out a node or connect a new one, saving you hours of time in the creative process. And once you've built out a flow, you can save it, edit it, and duplicate it as many times as you need to automate your creative pipeline.
Here's exactly how it works. Inside of 11 Labs to get started with flows, we can go ahead and click on flows in the left toolbar here. We then want to go ahead and click new flow. And so flows is a visual canvas that allows us to add different nodes to generate different types of assets and then string them together so we can use them as references and create a repeatable workflow. So let's go ahead and add an image generation node. I simply want to right click on the canvas and select the image generation node. Now we have our very first node.
Here it works just like within image and video. We've got the settings at the bottom. I can go ahead and select the different image generation models. So, let's just use Nano Banana 2. We can then select the aspect ratio and also select the resolution. So, let's generate in 2K. Below it, I can go ahead and type the prompt that I want to use. So, let's just say I want to generate a baseball player on the pitch. I simply type that prompt and now I click run. The generation then starts and [music] while that happens, I can go and add more nodes.
And so, let's say I wanted to then turn this into a video. But what I could do is right click next to it and click video generation and add a video generation node. And then here I could use the image that I've just generated as the start frame to my video. And I could do that by simply connecting the two nodes by dragging and dropping. So I'll drag from here and drag this to the start frame endpoint. And now I can describe the movement that I want to happen. So I can just type baseball player throws ball.
And at the bottom again we can go ahead and select the model. This time we have the different video models to choose from. We can select the aspect ratio and a bunch of other settings as well. So here I could quickly generate it in 1080p and then click run. And while that generates, let's build out the flow a little bit more. So right here, we generated this image based on this prompt. But let's say I wanted to try this prompt with a few different models. Well, what I could do is go and add a text node, right?
I'll simply drag it over to the left. And here I'm going to paste the prompt in just like so. And now I can use this text node as [music] the prompt for this node. And as you can see, the prompt has now been input right here. But let's say I want to try and generate it with a different model such as Cream. Well, I could actually drag and drop from this text node and here create an image generation node and this time go and select Cream. So I'm going to search Cream 4.5. Click it and then simply click run.
Now, as you can see now, we have a totally different generation and so I can quickly compare the two. Now you'll notice over here on the right, our video has finished generating. [music] The power of flows actually comes in when we want to make edits into a workflow that we've already built. So, for example, let's say I'm a really big fan of this image, but I want to change the person within it. Well, instead of regenerating the entire thing, what I can do is actually go and separate these two nodes, delete the connector between them, and then I'm going to add in my own reference image.
[music] And so, I could either click on the upload media button right here, or I could head into my files and drag and drop the reference image that I already have. And now, what I'm going to do is create an edit image node, just like so. So, I'll create edit image and I'm also going to input the reference image that I've just added [music] as an input as well. So, it's going to use the baseball picture we've generated and also the photo of me. And here we can then go and describe the change that we want to happen.
So, we could use the prompt place the man from and then use the at sign to tag the specific reference. And now, if we connect these two back up, I can use the new generation that's about to appear as the start [music] frame for our video that we want to generate that reuses the same prompt. And so, as you can see now, we've got me placed within the image, and it's a different character. And where Flows really saves you a lot of time is when you want to make a small tweak to the original prompt you had without having to go through the exact same process again.
Take a look at this. [music] Let's say I want to make a change to the initial prompt that I had. Instead of just being vague and saying a baseball player on a pitch, we could say a close-up shot of a [music] baseball player on the pitch about to swing the bat. The magic happens is that now we can click run from here and then flows is going to regenerate everything on the canvas instead of us having to click and drag all the references again, type in [music] the prompts again and go through that process manually.
And as you can see, we've now regenerated the entire flow by making a small tweak to the original prompt. But now you'll notice that the prompt at the end doesn't work. Or it turns out we might think that this generation from Cream 4.5 is a better one. Well, we could drag this one in and out. We could then remove the connector [music] that's coming from Nano Banana 2. The references that we tagged then automatically updated. And then maybe we actually want to generate this with Cling 2.6 instead. Well, we can go and do that by dragging the connector and creating a video generation node.
And here we could then go and select [music] our favorite Cling model. Let's use Cling 2.6. And here again, we might then add in a text node because we want to use a different prompt for both of these nodes. And so we could say slow motion shot of man swinging a baseball bat. And then here I can go and delete the prompt. [music] And then I would drag this and connect it to this one and also connect it to this one. [music] So now this prompt is being used for these two nodes right here to generate with V3.1 and Cle 2.6.
And then I could go back to my Cream 4.5 generation and I could click on the drop down arrow right here and I could click run from here. So it regenerates everything afterwards with all of the edits I've made. And so I've made a ton of different changes that I can easily see visually and apply them in seconds. And as you can see, the entire flow has been regenerated once again with the tweaks that we made. And so now I could go to the end and choose between my favorite, the generation from Cling 2.6 or V3.1.
And I do want to mention for any of the nodes at the top, you can cycle through the history of the generations. And so we can see the previous generations that we've made right here. But once I've chosen my favorite generation, what I can do is then go and combine this with audio. And to do that, I'm going to drag the connector from the video output [music] and then click mix with audio. So here I've now created a composition node which I can also create by clicking composition at the bottom just like so. And if I wanted to combine this with text to speech or sound, I could drag the audio input to create a new node for audio either text to speech or sound effect.
So let's say I wanted the noise of the baseball hitting the baseball bat. I could click sound effects and then literally go ahead and describe [music] baseball hitting bat just like so. And now what I can do is actually I can right click and I can click run from here. So it runs the sound effect generation and also the composition node. So we have a little something that looks like this. And as you can see, we've now got the final scene that we can use in our finished product. And so you could then go and continue creating infinitely in this canvas using the same shots as references, your characters as references, and link everything together to save you time.
And so it's a new way of creating. Instead of going linearly, we're creating from the middle and going outwards. So hopefully from what you've just seen today, you can quickly understand [music] how flows can end up saving you a lot of time to create the assets that you need using AI. And the best part is that you can also share your flows. So you can create templates and share them with your colleagues to create faster than ever. If you have any questions about how to use flows inside of 11 Labs, let us know in the comments section down below.
And if you enjoyed this video and you want to see more, please hit that like button and don't forget to [music] subscribe. Thanks for watching.
More from ElevenLabs


Related Videos


How To Create AI Influencer Videos For Free | Make Viral AI Influencer Videos For Free | Simplilearn
00:09:59

Higgsfield AI Tutorial For Beginners | How To Use Higgsfield AI | Higgsfield AI Basics | Simplilearn
00:24:56

Elevenlabs Tutorial For Beginners 2026 | How To Use Elevenlabs? | AI Voice Generation | Simplilearn
00:28:32
Get daily recaps from
ElevenLabs
AI-powered summaries delivered to your inbox. Save hours every week while staying fully informed.